


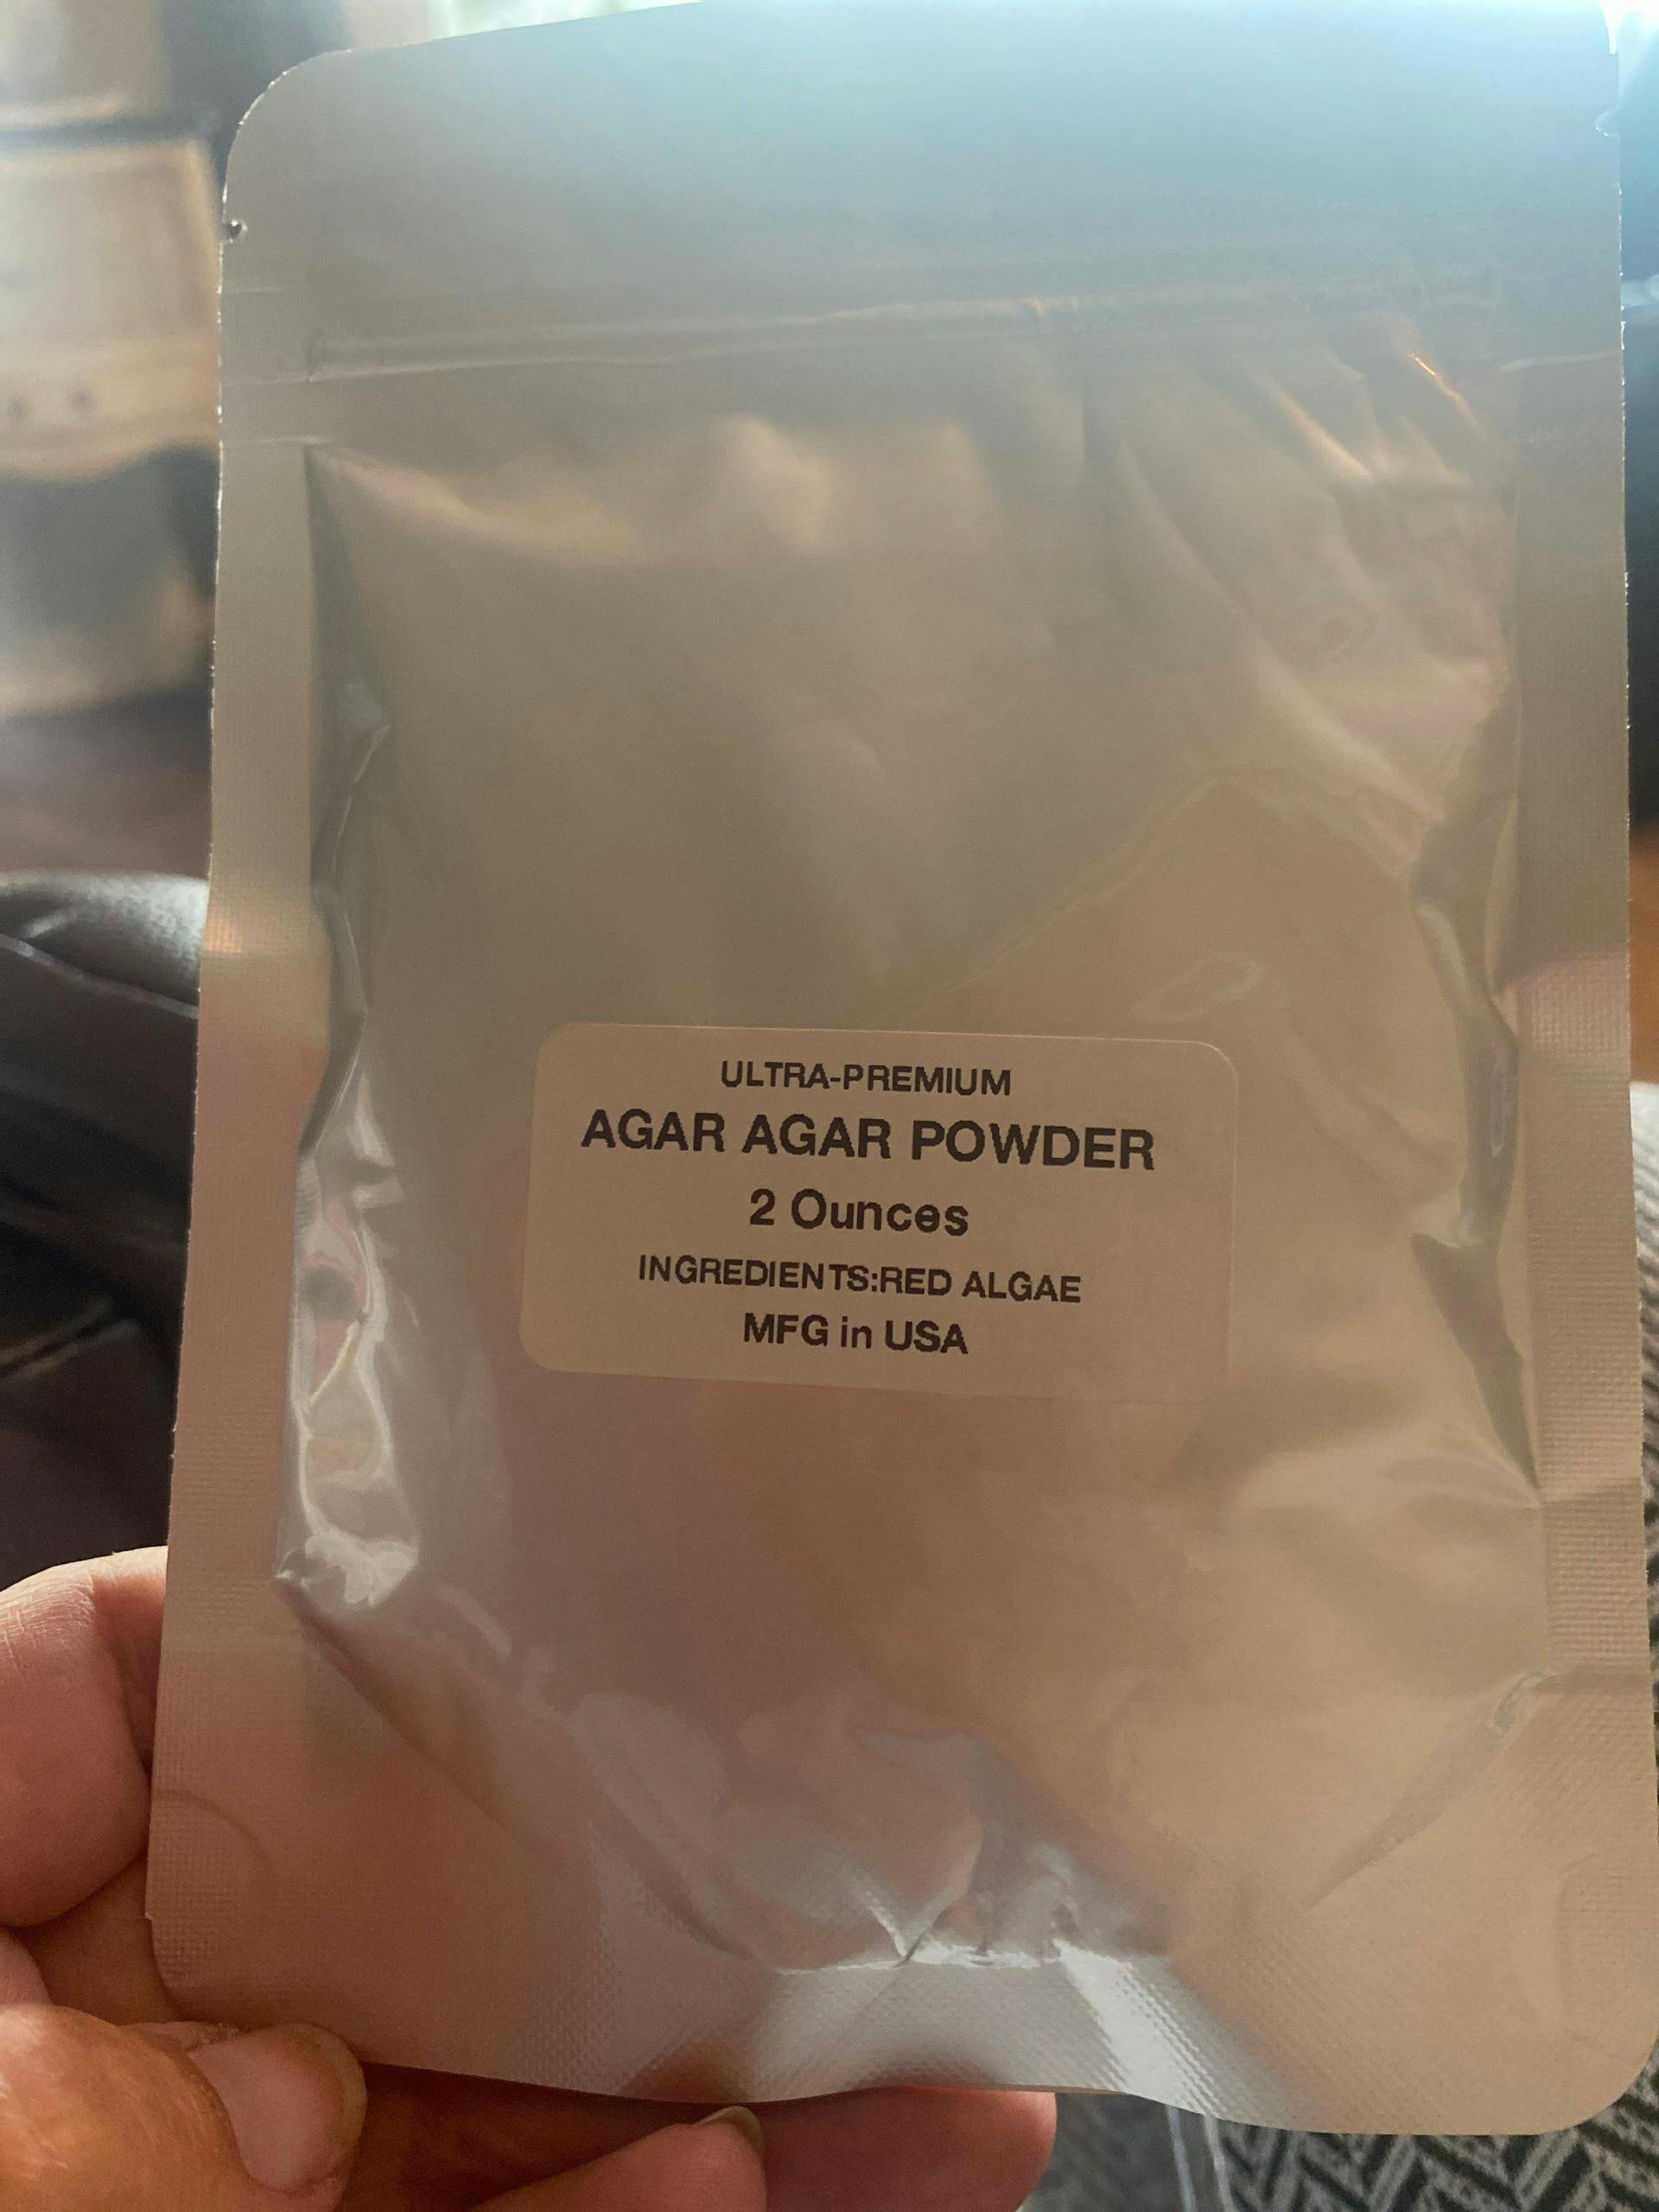
Premium Agar Agar Powder - Made in USA - 2 ounces
Premium Agar Agar Powder - Made in USA - 2 ounces
Couldn't load pickup availability
Shroomability Agar Powder is of very high grade. We sell quite a bit of agar to medical researchers and educational organizations.
it's tough to beat our prices on high quality agar.
No return, no refund on this product once ordered from our supplier because we cannot return this item due to Agar being a food item.
All orders over 1 lb shipped signature required and fully insured. Please allow up to 2 weeks for larger agar orders to arrive.
Agar plates are commonly used in mushroom cultivation to isolate and propagate mushroom mycelium, which is the vegetative growth stage of the mushroom fungus. Agar is a gelatinous substance derived from seaweed and is widely used in microbiology and mycology for culturing various microorganisms, including mushroom mycelium.
🍄 Mushroom Culture Agar Recipe (MEA – Malt Extract Agar)
🧪 Ingredients (for ~1 liter / 40–50 plates)
-
20 g Light Malt Extract (main nutrient source)
-
20 g Agar-Agar Powder (solidifying agent)
-
1 L Distilled or Filtered Water (33.81 ounces)
-
(Optional) 2 g Yeast Extract – helps boost growth and vigor
-
(Optional) A few drops of Food Coloring (for contrast, helps spot contamination)
🔥 Step 1: Mix the Medium
-
In a heatproof flask or large saucepan, mix all ingredients with the water.
-
Stir and gently heat until agar and malt extract fully dissolve (avoid boiling over).
-
Pour the mixture into a 1-liter glass bottle or flask, leaving some headspace.
🫧 Step 2: Sterilize
-
Loosely cap the bottle (so steam can vent).
-
Place it in a pressure cooker or autoclave.
-
Sterilize for 30 minutes at 15 psi (121°C / 250°F).
-
Let it cool slowly to around 113–122°C (warm but not hot to touch).
🧫 Step 3: Pour the Plates
-
In a clean environment — ideally in a Still Air Box or Flow Hood — pour about 20 mL per Petri dish.
-
Immediately cover each dish with its lid to prevent airborne contamination.
-
Allow plates to solidify for 20–30 minutes.
-
Once set, stack and wrap in plastic film or store upside down in a clean container.
❄️ Step 4: Store
-
Store sealed agar plates in the fridge (36–40°F / 2–4°C) for up to 1–2 months.
-
Let them return to room temp before inoculating.
-
Plates can also be vacuum sealed or placed in a ziplock bag with a paper towel to absorb condensation.
🧬 Step 5: Inoculation Tips
-
Flame sterilize your inoculation loop, scalpel, or syringe needle before use.
-
Work quickly in sterile conditions.
-
For spore syringes or liquid culture, inject a small drop onto the plate.
-
For tissue cloning, transfer a tiny piece of inner mushroom tissue.
-
Seal plates with Parafilm or electrical tape after inoculation.
⚗️ Optional Variations
| Variation | Use Case | Notes |
|---|---|---|
| PDA (Potato Dextrose Agar) | Good for Oyster or Lion’s Mane | 200 g potato broth + 20 g dextrose + 20 g agar |
| MEA + Activated Charcoal (0.5 g/L) | Helps isolate clean mycelium | Darkens agar for visibility |
| MEA + Peptone (1–2 g/L) | For fast-growing species | Extra nitrogen source |
🧫 Antibacterial Mushroom Agar (Gentamicin MEA)
🧪 Ingredients (for 500 mL / ~20 plates)
-
10 g Light Malt Extract
-
10 g Agar-Agar Powder
-
500 mL Distilled or Filtered Water
-
(Optional) 1 g Yeast Extract (for better growth)
-
(Optional) 1 drop Food Coloring (to easily spot contamination)
-
Antibiotic: Gentamicin Sulfate – 100 mg/L
(So for 500 mL agar, use 50 mg gentamicin)
💡 If you can’t find gentamicin, you can substitute with tetracycline (50 mg/L) or chloramphenicol (50 mg/L) — both also inhibit bacterial growth well.
🔥 Step 1: Prepare & Sterilize Agar
-
Mix malt extract, agar, yeast extract, and water in a flask or jar.
-
Stir until mostly dissolved.
-
Loosely cover the lid or cap with foil.
-
Pressure cook at 15 psi for 30 minutes.
-
Allow to cool to 113–122°C (warm to the touch, not hot) — this step is crucial before adding antibiotics.
💊 Step 2: Add Antibiotic
-
Dissolve the antibiotic powder in a few milliliters of sterile water or alcohol (depends on the type).
-
When agar is around 113–122°C, open in sterile conditions and add the antibiotic.
-
Swirl gently to mix evenly — do not shake vigorously or introduce bubbles.
⚠️ Adding antibiotics when the agar is too hot will destroy their effectiveness.
🧫 Step 3: Pour Plates
-
In a sterile workspace (still-air box or flow hood), pour 20 mL per plate.
-
Immediately replace lids.
-
Let them solidify for 20–30 minutes.
-
Once set, stack and wrap in plastic or store in a clean bag.
❄️ Step 4: Storage
-
Store sealed plates in the refrigerator (36–40°F / 2–4°C).
-
Plates stay usable for 3–4 weeks before antibiotic potency fades.
-
Always bring to room temp before inoculating.
🍄 Step 5: Using It
-
Ideal for dirty spore prints, wild clones, or contaminated samples.
-
Mycelium will typically grow while bacteria and slime will be suppressed.
-
Once clean growth appears, transfer a clean wedge to a fresh, regular (non-antibiotic) agar plate to stabilize it.
It's important to maintain strict sterile conditions throughout the process to prevent contamination, which can be a common challenge in mushroom cultivation. Using a laminar flow hood or a still air box and sterilizing your equipment are crucial for success. Additionally, be aware of the specific requirements for the mushroom species you are cultivating, as different mushrooms may have different preferences for agar recipes, temperature, and humidity.
Customer Reviews
Very excited about my order. Thank you!
The item worked as expected!
Worked perfect. Need more
Very nice Agar. Comes in a durable, resealable bag.
Thank you.
Premium Agar Agar Powder - Made in USA


