How to Grow Oyster Mushrooms in a 5 Gallon Bucket
Growing oyster mushrooms in a 5-gallon bucket is a manageable and rewarding project. Oyster mushrooms are one of the easiest types of mushrooms to cultivate. Here's a step-by-step guide on how to do it:
Materials and Equipment:
- 5-gallon plastic bucket with a lid
- Oyster mushroom spawn (you can purchase it online or from a local supplier)
- Substrate material (usually a mixture of straw and hardwood sawdust)
- A large pot or container for pasteurizing the substrate
- Drill with a 1/4-inch drill bit
- Aluminum foil
- Plastic sheet or garbage bag
- Spray bottle for misting
- Rubber gloves
Steps:
-
Prepare the Substrate:
- Mix the substrate material, typically a combination of straw and hardwood sawdust. You may need to experiment with the specific ratios, but a common mixture is around 70% straw and 30% sawdust.
-
Pasteurize the Substrate:
- Place the mixed substrate in a large pot or container.
- Add enough water to fully saturate the substrate.
- Heat the substrate to around 160-170°F (70-75°C) and maintain that temperature for at least an hour. This process pasteurizes the substrate, killing off unwanted microorganisms, while allowing the mushroom mycelium to thrive.
-
Cool and Drain:
- Allow the substrate to cool and drain excess moisture.
-
Prepare the Bucket:
- Drill holes in the plastic bucket with the 1/4-inch drill bit to provide ventilation for the growing mushrooms. Space the holes evenly around the bucket, including the lid.
-
Layer the Substrate:
- Begin by adding a layer of pasteurized substrate to the bottom of the bucket.
- Then, sprinkle oyster mushroom spawn over the substrate layer.
- Continue layering substrate and spawn until the bucket is almost full, finishing with a substrate layer on top.
-
Incubation:
- Seal the bucket with the lid.
- Place the bucket in a dark, warm, and humid location (around 70-75°F or 21-24°C is ideal) for 2-3 weeks. During this time, the mycelium will colonize the substrate.
-
Colonization Check:
- After a few weeks, check to ensure that the substrate is fully colonized with white mycelium. If you see any signs of contamination (unwanted colors or growth), remove that section.
-
Fruiting:
- Move the bucket to a well-ventilated area with indirect light. Oyster mushrooms don't require direct sunlight.
- Remove the lid to allow mushrooms to grow.
- Keep the substrate moist by misting it regularly.
-
Harvesting:
- Oyster mushrooms will start to grow from the holes in the bucket.
- Harvest the mushrooms when they are mature and before they drop spores.
-
Additional Flushes:
- After the initial harvest, you may get multiple flushes of mushrooms by repeating the misting and waiting process.
Remember to maintain a clean environment, as contamination can be a common issue in mushroom cultivation. Additionally, oyster mushrooms are relatively forgiving and can adapt to various conditions, so don't be discouraged by minor setbacks. Enjoy your homegrown oyster mushrooms!
ALL-IN-ONE MUSHROOM GROW BAGS
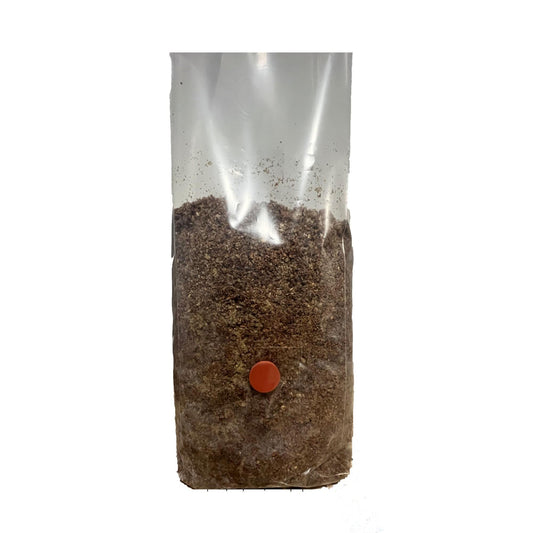
We have an assortment of All-In-One Mushroom Grow Bags aka "Fun Bags' for your growing pleasure. Fun bags are literally a window into how mother nature produces mushrooms right inside the bag.
Our fun bags are a great family or school project. Teach kids how to grow their own mushrooms and they will never go hungry. No yard needed. Grow right indoors from beginning until harvest. Bags can also be grown outdoors.
These bags to not contain spores or liquid culture. Inoculate with your favorite mushroom spores or liquid culture.
If you have any questions or need advice please contact us.
-
Rye & Casing Mix All In One Mushroom Grow Bag (4.5 lb)
Regular price $24.95Regular priceUnit price per -
Wood Based All In One Mushroom Grow Bags (2x2.5 lb)
Regular price $19.99Regular priceUnit price per -
Mini All In One Mushroom Grow Bags - Rye & Casing Mix
Regular price $19.99Regular priceUnit price per$24.95Sale price $19.99Sale -
Wood Based All In One Mushroom Grow Bag (5 lb)
Regular price $15.00Regular priceUnit price per


