How to Make Agar Plates
Agar plates are commonly used in laboratories for various purposes, such as growing and culturing microorganisms, including bacteria and fungi. Making agar plates is a straightforward process. Here's a basic guide on how to make agar plates:
Materials and Ingredients You'll Need:
- Agar powder: You can purchase it from the here at the shroomability store.
- Nutrient broth or agar solution (for specific types of agar plates, e.g., nutrient agar, Sabouraud agar, etc.).
- Distilled water.
- Petri dishes: Sterile plastic or glass dishes with lids.
- A sterilization method: You can use an autoclave if available, or a pressure cooker can work as a makeshift sterilization method.
- A microwave or stovetop.
- Stirring rod or glass rod.
- Sterile pipettes (optional).
- Inoculating loop or sterile swabs (for transferring microorganisms to the plates).
Procedure:
- Prepare the Agar Solution:
- Measure the appropriate amount of agar powder based on the manufacturer's instructions. The typical ratio is around 15-20 grams of agar per liter of distilled water, but it may vary depending on the type of agar.
- Add the agar powder to a clean container.
- Add the appropriate volume of distilled water, depending on the ratio, to the container with the agar powder.
- Stir the mixture to dissolve the agar completely. Make sure there are no lumps.
- Sterilize the Agar Mixture:
- If you have an autoclave, follow the manufacturer's instructions for sterilization. Typically, the agar mixture is autoclaved at high pressure and temperature.
- If you don't have an autoclave, you can sterilize the mixture using a pressure cooker. Pour the agar mixture into clean, autoclave-safe glass bottles or jars and seal them with aluminum foil. Sterilize at 15 psi for 15-20 minutes.
- Pour the Agar Plates:
- Allow the agar mixture to cool but not solidify. You can place it in a 50°C water bath or microwave it in short bursts until it reaches a pourable temperature.
- In a sterile environment (e.g., a laminar flow hood or a clean, disinfected area), pour the sterilized agar solution into each sterile Petri dish. Fill them about 1/3 to 1/2 full to allow for solidification.
- Solidify the Plates:
- Allow the plates to cool and solidify at room temperature. Avoid rapid cooling or heating, as it may cause condensation on the agar surface.
- Storage:
- Once the agar plates have solidified, store them upside down in a refrigerator at 4°C. Storing them upside down helps prevent condensation from falling onto the agar surface.
- Labeling:
- Label each plate with the date of preparation and any relevant information, such as the type of agar used.
Now you have prepared agar plates that are ready for use. Be sure to work in a sterile environment, use proper aseptic techniques, and handle the plates carefully to prevent contamination when culturing microorganisms.
ALL-IN-ONE MUSHROOM GROW BAGS
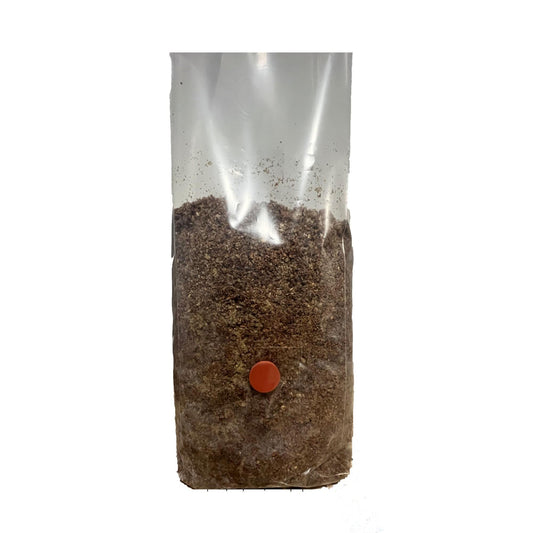
We have an assortment of All-In-One Mushroom Grow Bags aka "Fun Bags' for your growing pleasure. Fun bags are literally a window into how mother nature produces mushrooms right inside the bag.
Our fun bags are a great family or school project. Teach kids how to grow their own mushrooms and they will never go hungry. No yard needed. Grow right indoors from beginning until harvest. Bags can also be grown outdoors.
These bags to not contain spores or liquid culture. Inoculate with your favorite mushroom spores or liquid culture.
If you have any questions or need advice please contact us.
-
Rye & Casing Mix All In One Mushroom Grow Bag (4.5 lb)
Regular price $24.95Regular priceUnit price per -
Wood Based All In One Mushroom Grow Bags (2x2.5 lb)
Regular price $19.99Regular priceUnit price per -
Mini All In One Mushroom Grow Bags - Rye & Casing Mix
Regular price $19.99Regular priceUnit price per$24.95Sale price $19.99Sale -
Wood Based All In One Mushroom Grow Bag (5 lb)
Regular price $15.00Regular priceUnit price per


